
One of the things I love about alternative photography techniques is the unpredictable nature of the beast. The same “recipe” for a toner may produce completely consistent results, or it may produce something so weird and wacky that I simply can’t duplicate it.
I’m pretty sure that’s what happened with this batch of toner. I have most of the variables locked into place due to routine, including how long I steep the tea, how many tea bags go into the toner, and how much filtered water goes into the final toner bath. Still, for whatever reason, things go wrong – or produce what my alt teacher in college called a “happy accident.”
Of course, you can try to force a split tone with a bunch of toner baths (several types listed in Christopher’s James’ book) but this toner was a simple tea toner. Nothing special or exotic, so the results surprised me.
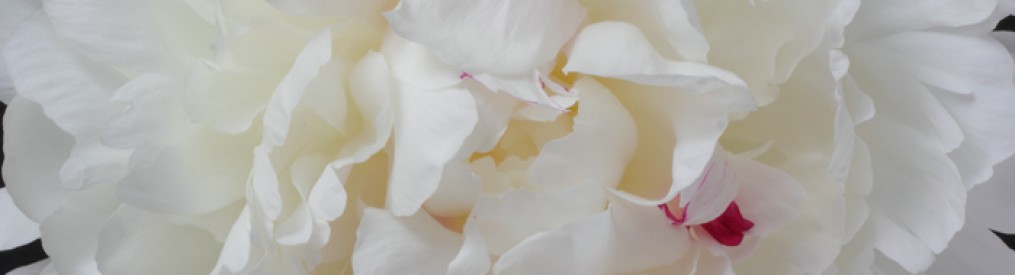
It seems that my habit of double coating the paper made this split tone more visible. Areas with slightly more emulsion went lighter, while the edges of the first coat turned the standard black of a tea toned cyanotype. My highlights are warm tea tones, and the mid tones mostly went tea as well. If I had left the print in the toner longer, it would (probably) have eventually become a more uniform hue.
As always, the scanned image emphasizes certain tonal variations as well as paper tooth.
Image: “Nesting,” cyanotype
Size: 7×10 digital negative
Paper: double coated emulsion on Canson Montval Watercolor paper, arrowroot sized
Toner: Straight black tea toner. (8 small teabags steeped in 8 oz boiling water, added to 1.5 liters of filtered water.) No bleaching stage used. Toned for 5 hours – abnormally long for me.


how serendipitous…fantastic work…nicely presented!
Thanks! I can’t take credit for anything but the image though – the split toning simply happened 🙂
Pingback: Cyanotype toning: the basics « MP Photography | GRAFIKSKOLEN LANGELAND
Pingback: Toning Methods | Alternative Photography Individualized Course 2015